A Beginner's Guide to UK Postcodes for Geospatial Analysis
October 09, 2026 - Geodata

October 09, 2026 - Geodata
October 05, 2026 - Maps

October 04, 2026 - Tutorials

September 30, 2026 - Technology
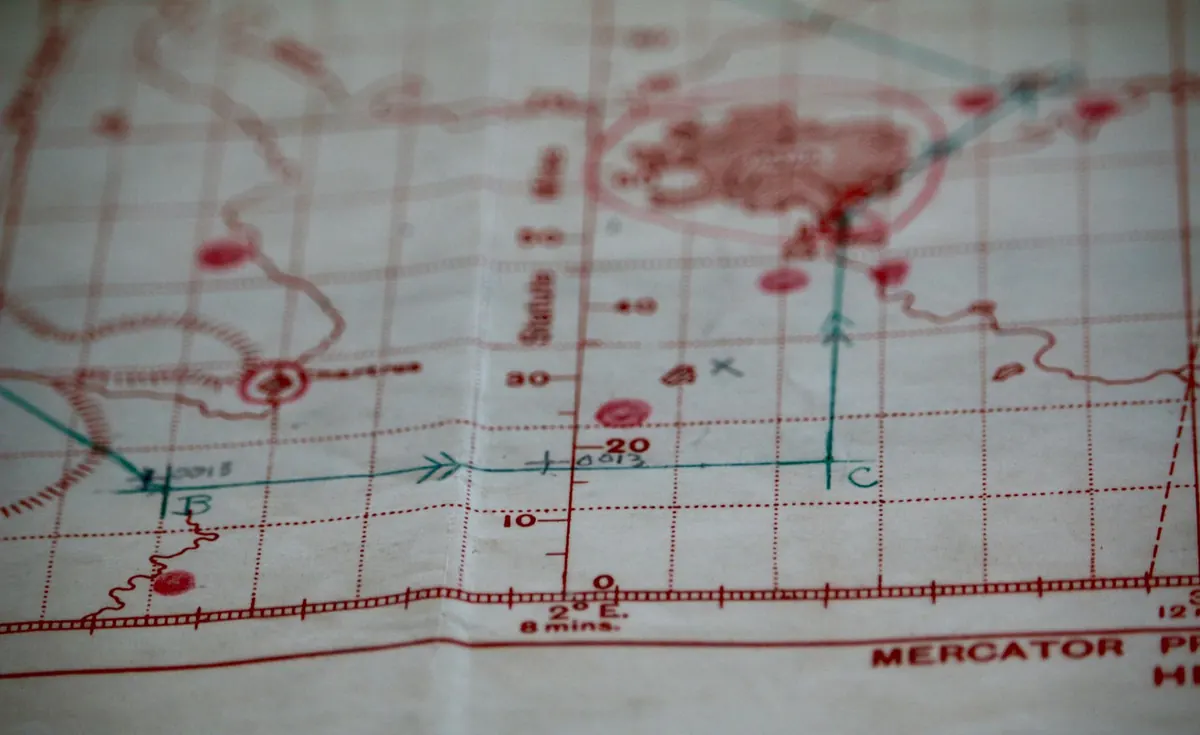
Grid references look like code. Six digits and a pair of letters that turn "somewhere near the reservoir" into a point you could walk to without hesitating — or, more usefully, a point you can hand to someone else and have them find it. The system behind those digits is simple, and after a handful of readings on paper you'll stop thinking about it.
Here is the whole thing, from the letters at the front to the last digit at the back.
Ordnance Survey maps of Great Britain use the National Grid, a set of squares laid over the country. The country is divided into 100 km squares, each with a two-letter code. TQ covers London, Sussex and the Kent coast. SU takes in Wiltshire, Hampshire and Dorset. NT covers Edinburgh and the Northumberland coast. Those letters appear in the map key and along the edges of the sheet.
Inside each square, a position is given as two numbers: an easting and a northing. That's all a grid reference is.
Eastings are the vertical lines. They're numbered from west to east, so the number rises as you move right across the map. Northings are the horizontal lines, numbered from south to north, rising as you move up the page.
The order matters: eastings first, then northings. E before N is one way to hold on to it. The one that tends to stick, though, is "along the corridor, then up the stairs" — go right first, then climb. Reverse them and you'll land a long way from where you meant to be, which is the sort of mistake that shows up on a hillside at dusk rather than at the kitchen table.
One small thing worth knowing: the numbers printed along the edge of a map are often shortened. On a Landranger sheet you might see 31 and 79 where the full easting and northing are 531 and 179. The first digit is the same across the whole sheet, so it's left off. The reference you take from those edge labels is the one everyone else will understand.
The number of digits tells you how precise the reference is. More digits, smaller square.
You'll see references written without the letters, or with a different spacing. The safe format is letters, then the two numbers, each split in the middle: TQ 312 794.
Splitting a grid square into ten is the only fiddly part, and it comes quickly with practice. Halve the square, halve again for quarters, then decide which tenth you're in. Use whatever the map gives you: a stream, a field boundary, the bend in a lane. If a feature sits right on a grid line, your easting ends in 0.
It helps to know what 100 m looks like on the ground — roughly the length of a football pitch. An error of one tenth is an error of about 100 m, which is the difference between the right gate and the wrong one.
Practise on a landmark you can see. Take a six-figure reference for it, walk there, and check whether you end up in the right spot. Then reverse it: give the reference to someone else and let them find you. That's the whole skill, and it takes an afternoon to bed in.
Most mapping apps, including OS Maps, will show the grid reference for a point you tap or long-press. That makes a useful check on your own eye — do a few and compare. If you're out with a paper map and want to be sure, read the reference twice from different edge labels.
Finally, remember what the numbers are for. If you ever need help outdoors, a six-figure reference tells a rescue team where to look within a 100 m square. That is a far shorter search than "by the big tree near the top", and a far more useful sentence to say out loud.
Photo: Brigitte Pellerin / Pexels
A practical introduction to UK postcode structure, geocoding options and aggregation choices for mapping location...
A practical guide to England and Wales' definitive maps, CRoW access land and the open data sources you can use to...
October 09, 2026 - Geodata
October 05, 2026 - Maps
October 04, 2026 - Tutorials
Copyright © 2026 Atlas Bit. All Right Reserved.